
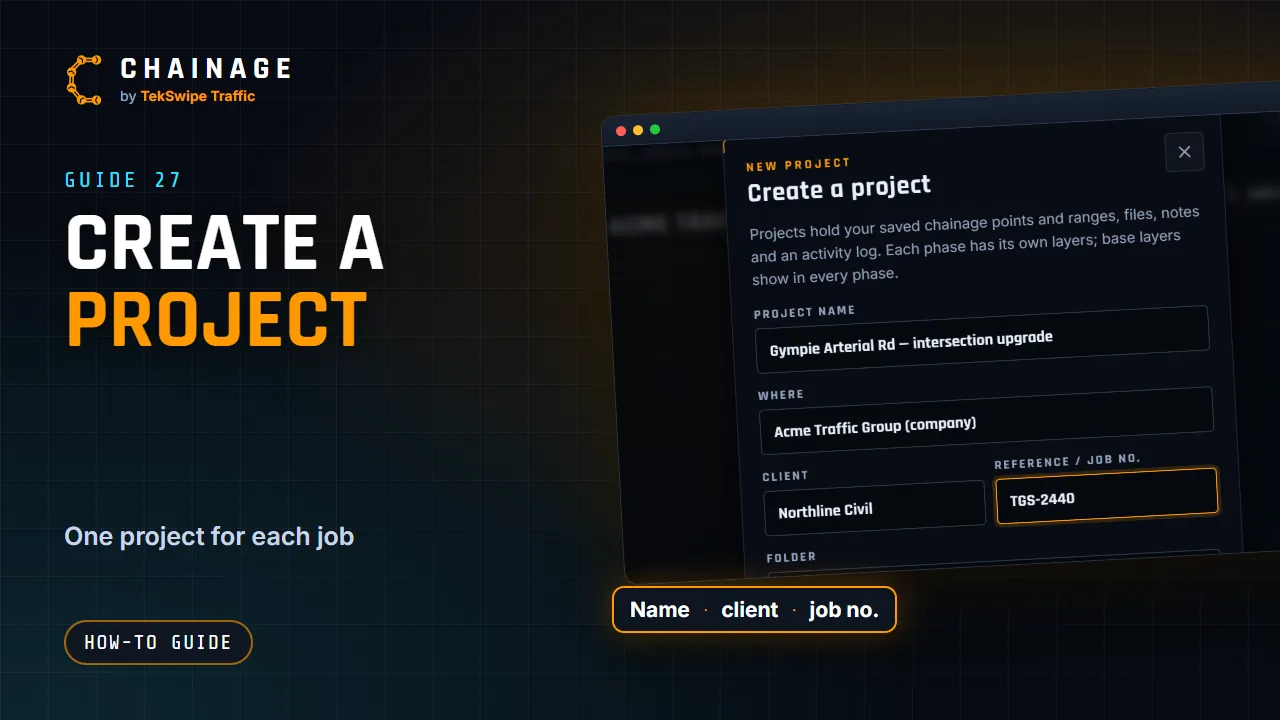
You can create a project before you start, or on the spot while saving your first point.
Where to start
- Projects home: open the account menu, choose Projects home, then New project (the + button on a phone).
- While saving a point: in the save dialog, choose + New project… in the Project list and type a name. See Save a point to a project.
- From a company: on the company's Overview tab, choose New company project.
Fill in the details
- Enter a Project name, for example “Bruce Hwy — Innisfail upgrade”.
- If you belong to a company, choose Where: My projects (personal) or the company.
- Optionally add the Client, Reference / job no., a Folder, Tags (comma separated) and a Description.
- Tap Create project. The new project opens on the map, ready for your first point.
You can change these details later on the project hub's Overview tab. See The project hub.
What a new project starts with
Every new project has Site 1, holding Phase 1 with a General layer, and a Base base layer. Add your own sites, phases and layers as the job takes shape. See Organise a job with sites, phases and layers.
The Starter plan limit
The free Starter plan includes 10 personal projects. When you reach the limit, the dialog says so and offers Upgrade to Professional for unlimited projects. Company projects don't count towards your personal limit. See Upgrade to Professional and add storage.