
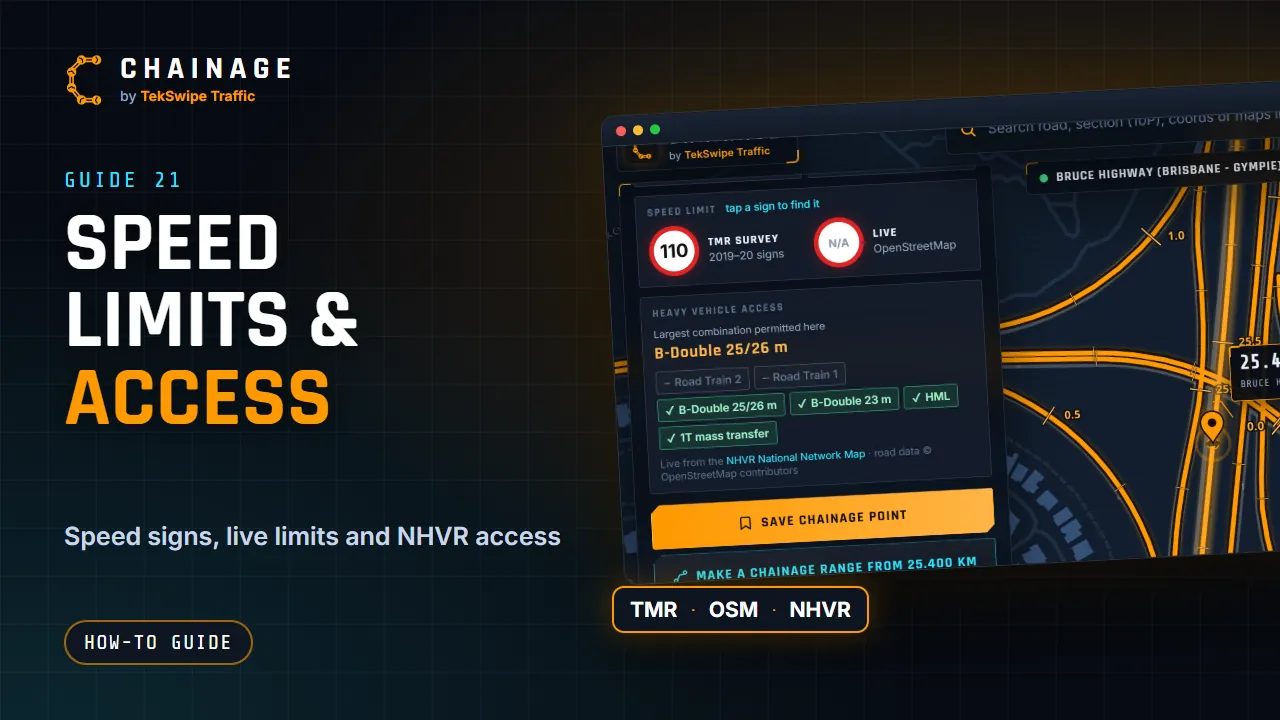
The chainage card can show the speed limit and which heavy-vehicle combinations are allowed on the road. Some of this comes from outside services, so it only loads when you ask for it.
The TMR survey sign
The Speed limit box shows the limit from TMR's speed sign survey, labelled TMR survey. It's the last speed sign that traffic passed on this road, and the box says how far back it is, for example Sign 285 m back · 2019–20.
Each sign in the survey records the street it's on and the direction of traffic it faces. Chainage only uses a sign for the road it actually belongs to, and only for the direction of travel it faces. So a side street's sign at an intersection, or the sign for the other side of the road, doesn't change the limit shown. On a divided road, each carriageway uses its own direction's signs.
Between the two signs of a zone change, the limit can differ by direction. The box then shows both, with where each is heading, for example To Mossman and To Cairns, and says differs by direction here.
A speed limit applies until the next speed limit sign or the end of the road (TMR's Traffic and Road Use Management manual), so the limit shown is the last one passed, however far back its sign is.
Tap a sign (“tap a sign to find it”) to see its zone. A marker goes on the sign, and a dashed purple line shows the stretch the limit covers: from where it began to the next sign with a different limit, or to the end of the road section. The message says how long that is, for example 60 km/h for 1.24 km (2.417 → 3.660 km).
Because the survey dates from 2019–20, some limits may have changed since, and a few roads have no surveyed signs.
More information
Tap More information (Live speed limit · heavy vehicle access) to load two extra things for the point:
- Live OpenStreetMap: the speed limit mapped for that road in OpenStreetMap. It shows N/A if none is mapped.
- Heavy vehicle access from the NHVR (see below).
When you tap it, the selected location is sent to OpenStreetMap and the NHVR to look these up. Saved points have the same information under Road & traffic data (see Edit, move and add photos to saved items).
Heavy-vehicle access
This shows the Largest combination permitted here, then a chip for each network: Road Train 2, Road Train 1, B-Double 25/26 m, B-Double 23 m, HML and 1T mass transfer.
| Symbol | Meaning |
|---|---|
| ✓ | Approved on this road. |
| ! | Approved with conditions. The conditions are listed under the chips. |
| ✕ | Restricted. |
| – | Not on that network here. |
Nearby restriction rows list restriction points close by. Tap one to show it on the map. The data is “Live from the NHVR National Network Map”. If it can't be reached you'll see “NHVR network data unavailable right now.”
Always check on site
Speed limits and heavy-vehicle access change, and these sources can lag behind what's on the road. Results are also kept for a short time to keep things quick. Always check the signs on site, and the NHVR's own maps and any permit conditions, before relying on them.
See also Read the chainage card and Where the data comes from.