Chainage company admin tutorial: invite your team, set roles and run projects
A step-by-step tutorial for new company admins: joining, two-factor sign-in, inviting your team, roles and permissions, company settings, the activity log, company projects, sharing, and sites, phases and layers.
Transcript
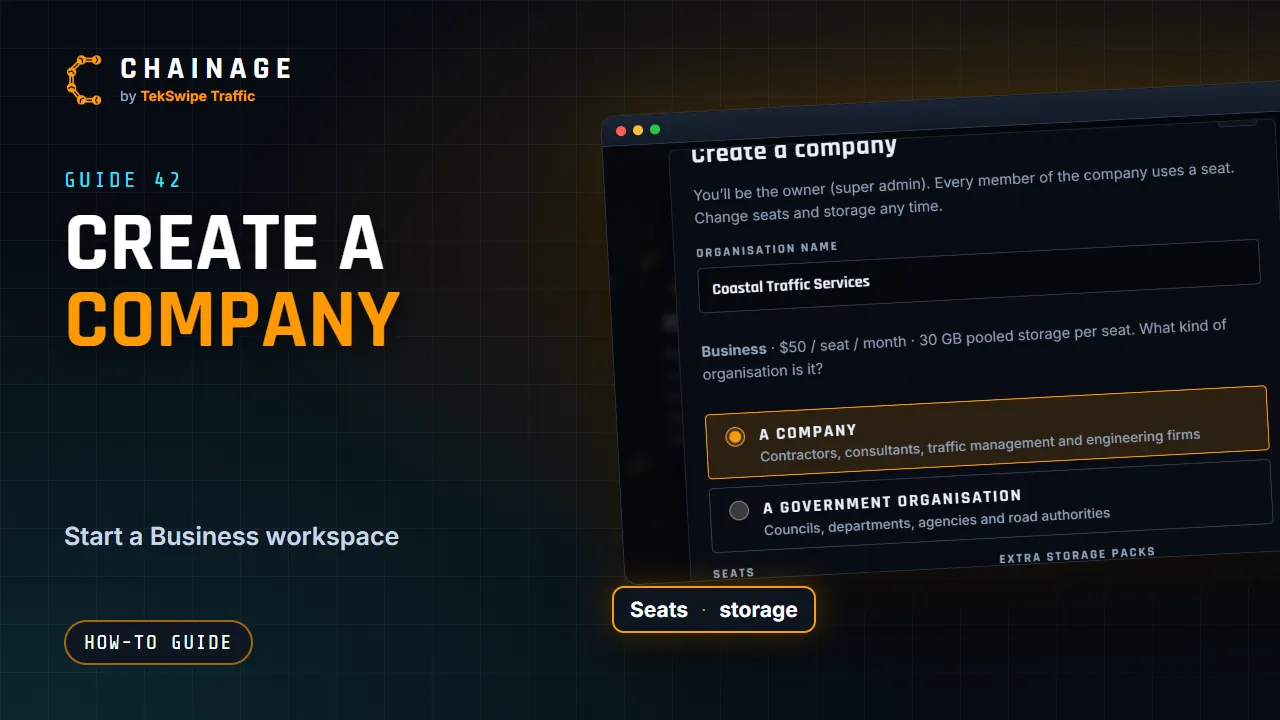
Welcome to Chainage. This tutorial is for you if you've just joined your company's workspace as an admin, the person who looks after its people and its projects. We'll take it one step at a time. Joining the company, securing your account, inviting your team, roles and permissions, company settings, and then running projects and sharing them. Pause the video whenever you like, and follow along in the app.
It all starts with an email from Chainage, inviting you to join. Click Accept the invitation. Sign in, or create a free account if you don't have one yet. The invitation link works for thirty days. You'll also find the invitation any time under Teams and companies, showing the role you've been given. Click Accept. And you're in. Your company's page opens, ready to go.
First, secure your account. As an admin you can see and change a lot, so turn on two-factor sign-in. Open the account menu at the top right, and choose Sign-in and security. Under Two-factor sign-in, choose Use an authenticator app. Scan the code with an app like Google or Microsoft Authenticator, type in the six-digit code it shows, and click Turn on.
Save your recovery codes somewhere safe, like a password manager. They get you in if you ever lose your phone. Back on this screen, you can see every device you're signed in on, and sign out everywhere else with one click. Now let's look around. You can get back to your company any time from the account menu, under Teams and companies.
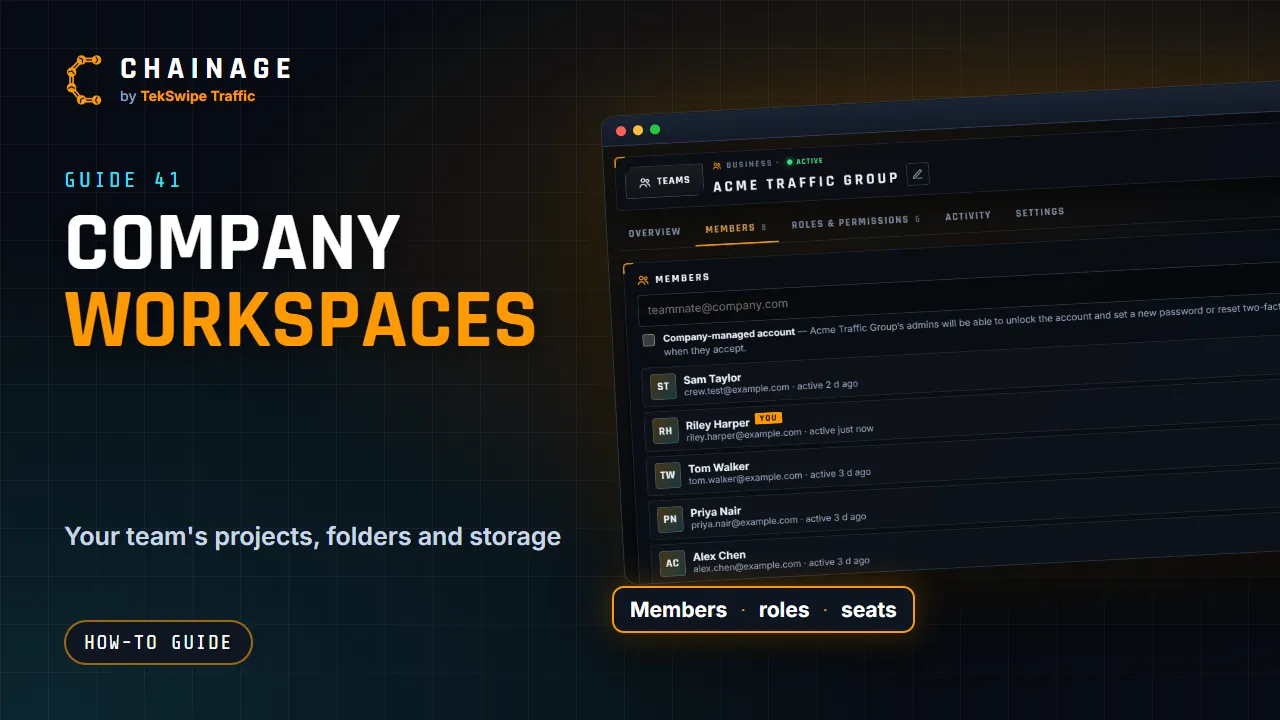
There are five tabs. Overview, Members, Roles and permissions, Activity, and Settings. Overview shows your plan, your pooled storage, and how many seats are in use. Every member uses one. Changing seats, storage or payment details is for the owner or the Accounts role. As an admin, you'll see a note to ask them. Next, bring your team in. Open the Members tab.
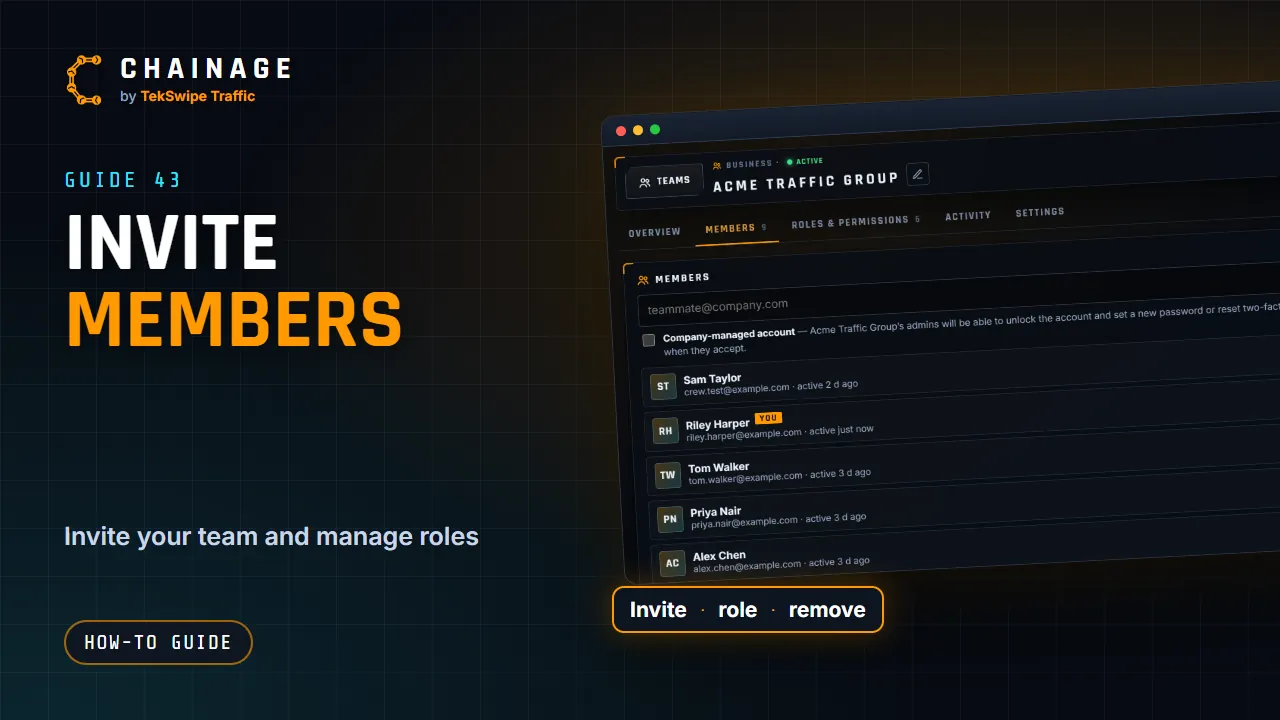
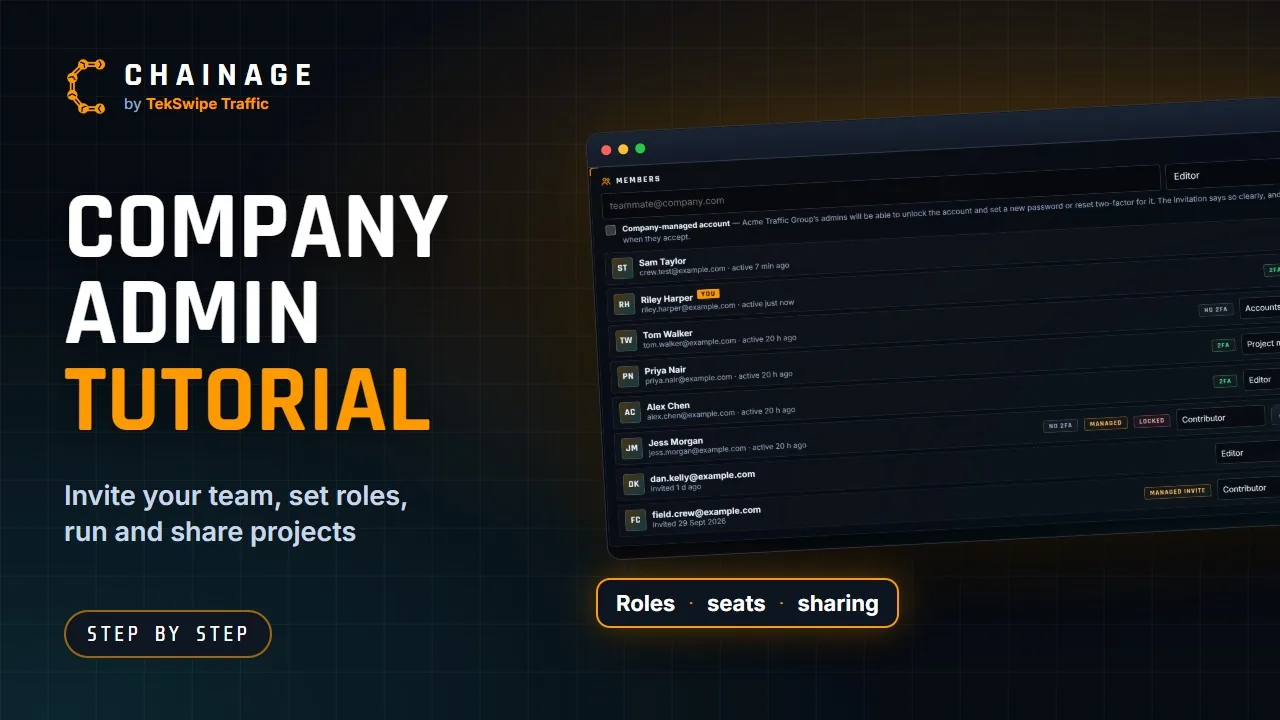
Type their email address, then pick a role. Editor is a good start for people who work on projects every day. Click Invite. They're emailed straight away, and they show as invited until they accept. If someone can't find the email, the envelope button sends it again. And the bin button cancels the invitation. Keep an eye on the seat count at the top.
Every member uses a seat, and so does a pending invitation. To change someone's role, pick a new one from the drop-down on their row. It saves straight away. To remove someone, use the bin button. Their company projects stay with the company, so no work is lost. The badges help at a glance. They show who has two-factor turned on, and whose account is managed or locked.
When you invite someone, you can also tick Company-managed account. It's ideal for field crews. If they agree when they accept, your admins can unlock their account, set a new password, or reset their two-factor sign-in when they get stuck. Here, Jess has been locked out after too many wrong passwords. Click Account on their row. Then Unlock the account, and they can sign in again.
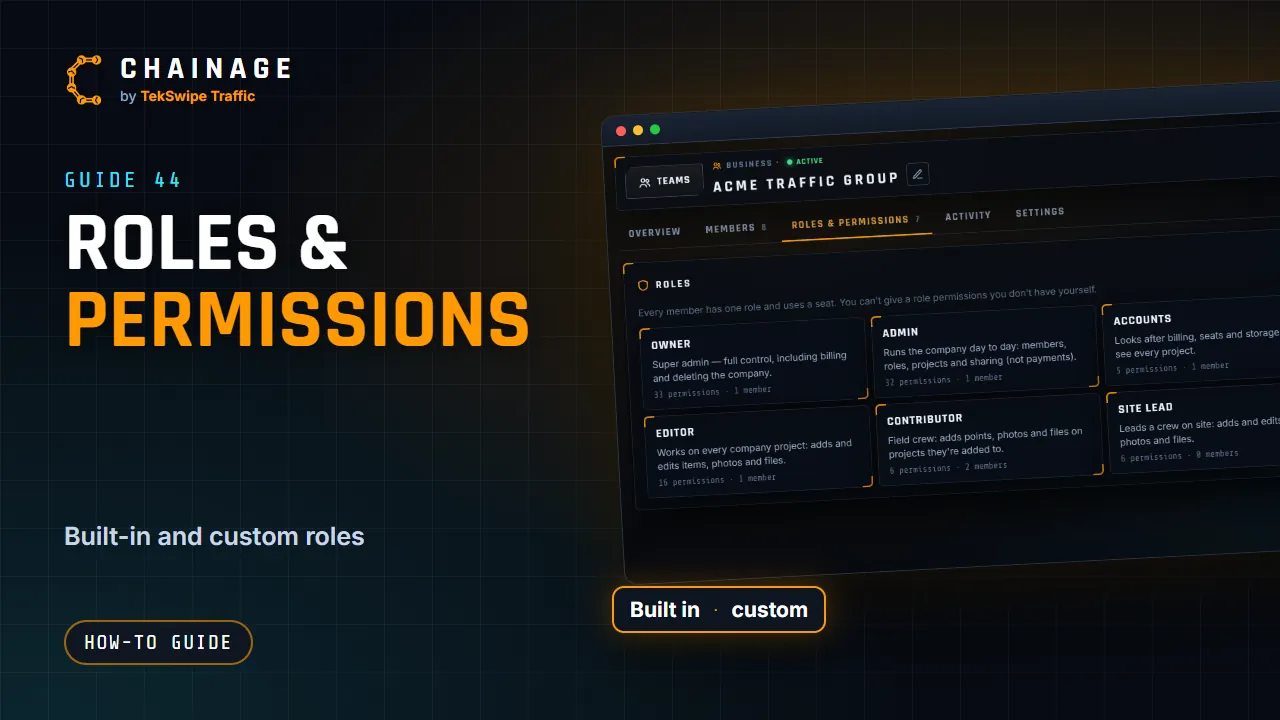
They're emailed every time, and it's recorded in the activity log. Every member has one role. Open Roles and permissions to see what each one can do. Owner and Admin run the company. Accounts looks after billing. Project managers run projects and their sharing. Editors work on every company project. Contributors are field crew who work on the projects they're added to.
Every member uses a seat, whatever their role. Need something different? Click New role, give it a name, and tick exactly the permissions it needs. This Site lead can add and edit items, photos and files, but can't delete projects or change the team. Click Create role, and it's ready to use. Now the Settings tab. Here you can rename the company, and set security rules for everyone.
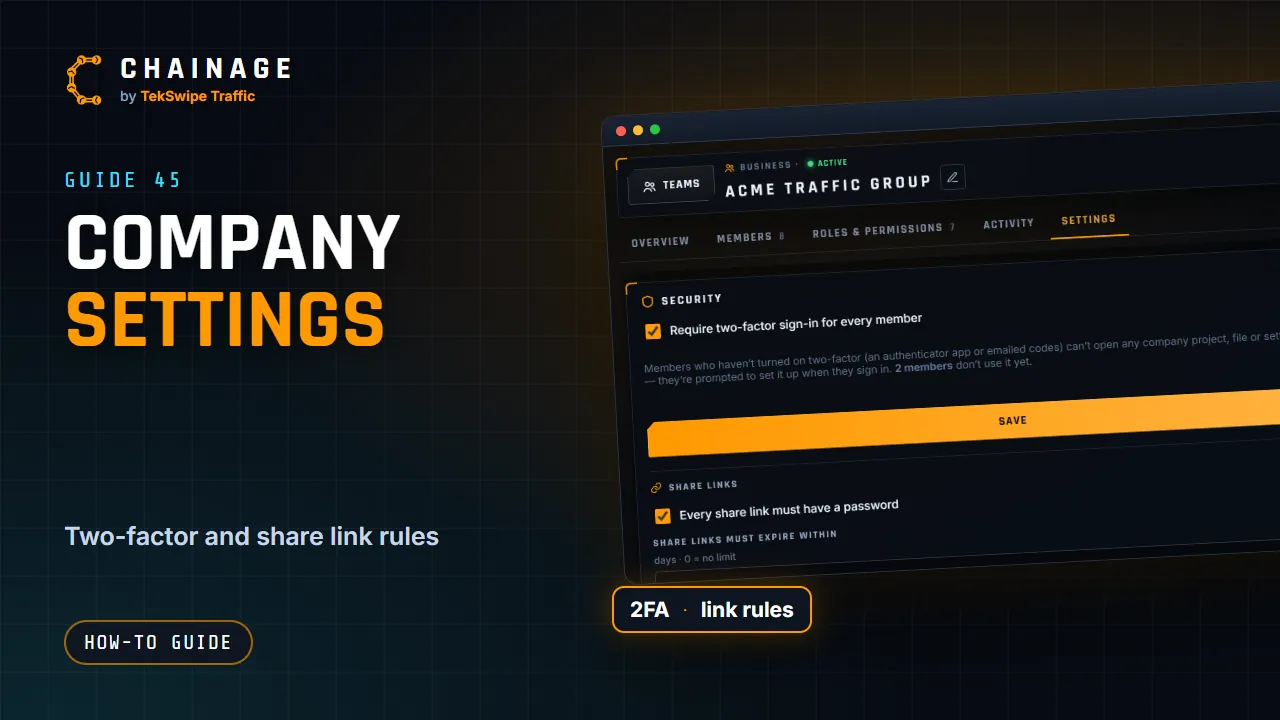
Tick Require two-factor sign-in for every member, and click Save. Anyone without it has to set it up before they can open company projects. You'll need it on your own account first. Below that are the share link rules. Make every share link need a password, and choose how many days links can last before they expire. Further down, you can download all of the company's data as one zip file, any time.
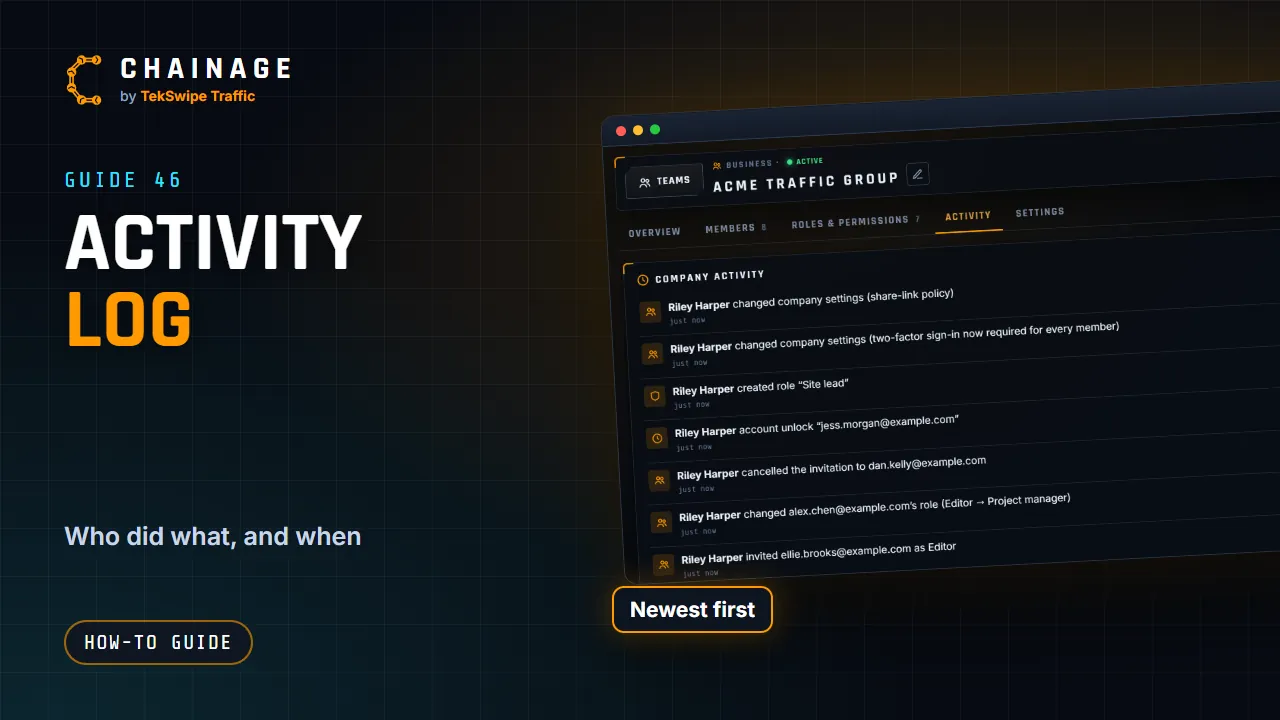
Transferring ownership and deleting the company are kept for the owner. The Activity tab is your company's history, with who did what, and when. Invitations, role changes, settings, and every change in every company project, are all here. If something ever looks wrong, this is the first place to check. Now, projects. Open Projects home from the account menu at the top right.
Company folders keep things tidy, and everyone in the company shares them. Click the plus next to your company to add one, say, one per client. To start a project, click New project. Give it a name, and under Where, choose your company, so it belongs to the company, not to you personally. Add the client and job number, choose a folder, and click Create project.
Company projects stay with the company, even if the person who made them moves on. Every project has its own hub. Open it with the Project hub button. Overview holds the details. Status, client, job number, dates and notes. Then click Save details. Files keeps plans, permits and drawings with the map. Drop them in, up to five hundred megabytes each.
Activity shows every change to this project, and you can filter it by points, photos, share links and more. And Settings is where you export the project for mapping software or spreadsheets, change its folder and tags, or delete it. Access and sharing controls who can see the project. Members whose role sees every company project already have access. To add someone else, like a client, type their email, leave it on Viewer, and click Add.
They'll see just this project on their own account. For a read-only link, click New link. Give it a name and a password. Here, the password is required, because of the rule we set earlier. Choose an expiry date, what viewers can see, like photos and files, and which phases and layers to include. Click Create link, and it's copied, ready to send.
You can copy it again, change its settings, or revoke it at any time, and anyone using it loses access straight away. Finally, sites, phases and layers. Open the map, then More, to see them. Phases are the stages of a job, like day works and night works. Each phase has its own layers, like signs and closures. Base layers are always shown, in every phase.
They're great for things that don't change, like site access. Click Add to make a new layer. The site and phase at the top of the map switches between them, and adds new sites and phases. That's everything. Here's your checklist. Turn on two-factor sign-in. Invite your team with the right roles. Set your security and sharing rules. Then create company folders and projects, and share with viewers and protected links.
The full user guide is at chainage.com.au/docs. And if you need a hand, email support@tekswipe.com.au
The full guide: Company admin tutorial (video)